Adding Wallet Members
I. Function Introduction
- admin/Wallet owner: The member who creates the wallet is the default wallet admin and has all wallet permissions;
- Approval Members: admins automatically become approval members after adding ordinary members to the approval strategy, and they have the authority to initiate receipts, transfers, approvals, etc.;
- Ordinary Members: Members added to the wallet by the admin are default ordinary members; they have basic permissions such as initiating receipts and transfers;
To become a custody member, you must meet:
- Have a ChainUp Custody account
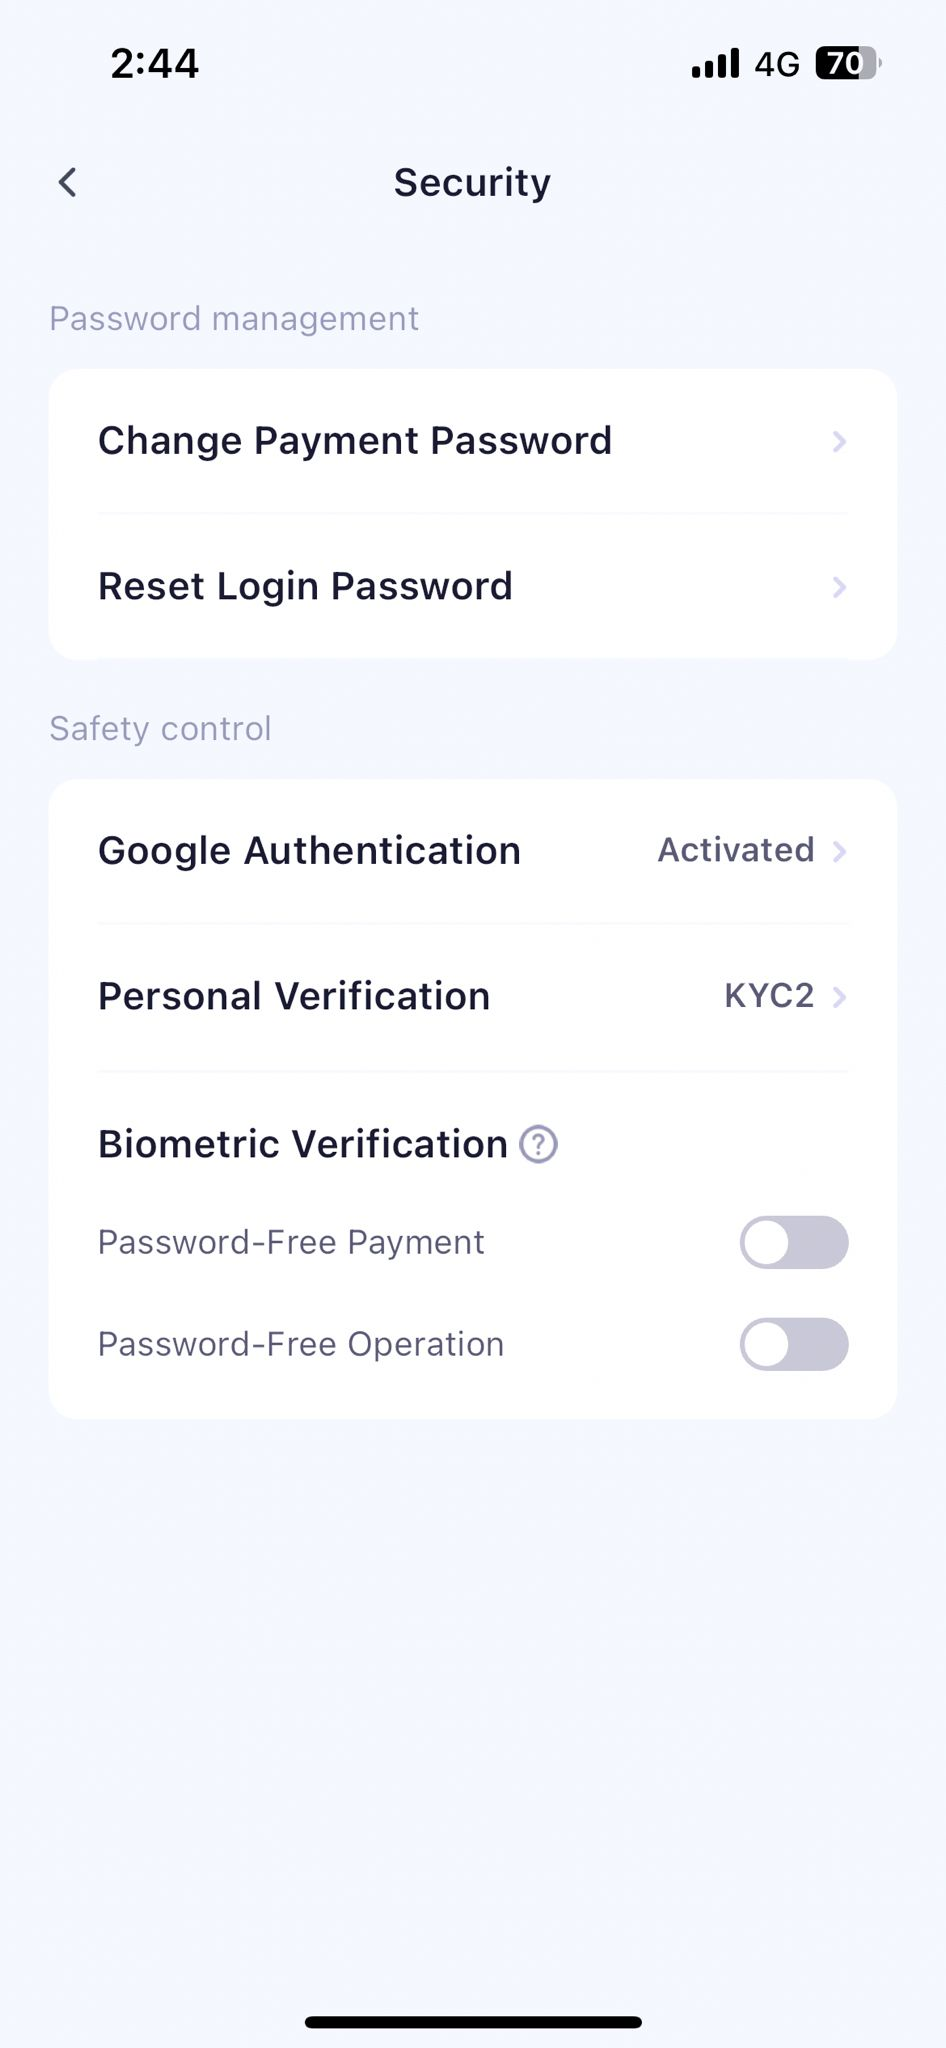
- Need to complete KYC certification
- Bind and turn on Google Authenticator
II. Operation Procedure
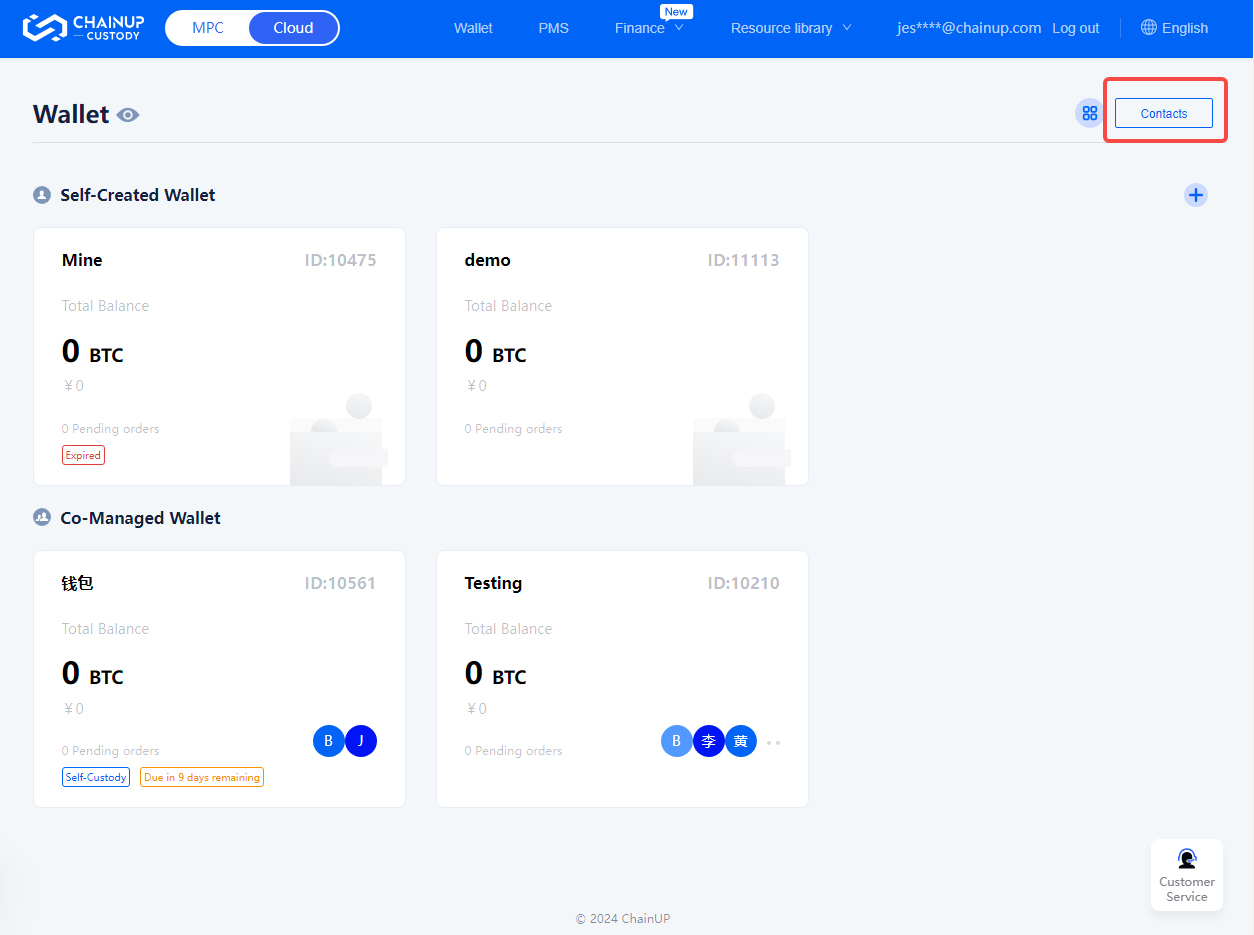
Select Custody Wallet
Log in to the Custody Wallet web page, select the custody wallet you want to manage, and click on the left navigation bar [Co-managed Wallet].
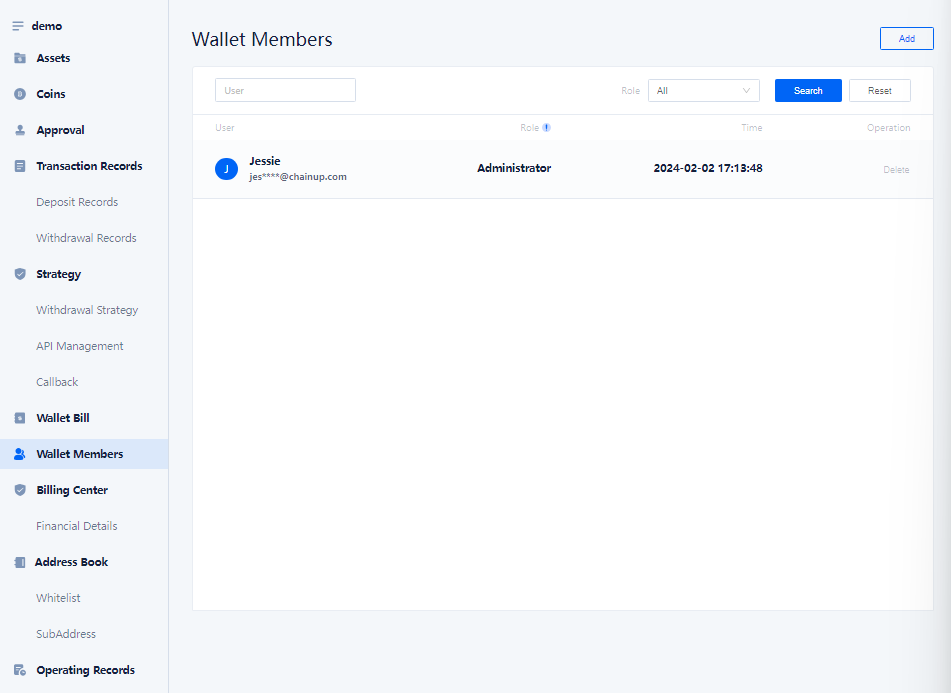
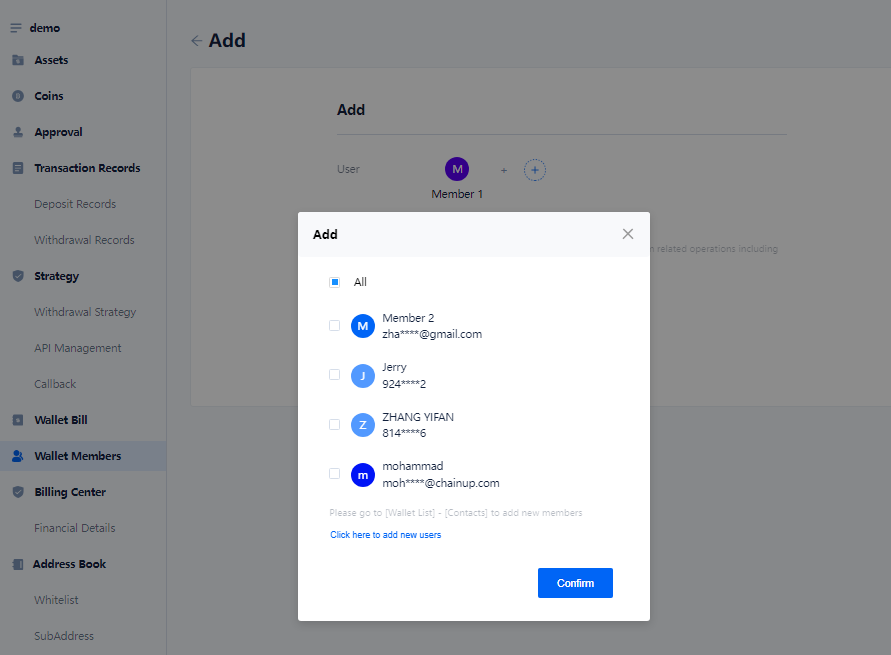
Add members as ordinary custody members
Click on the left navigation bar [Co-managed Wallet], select users from your contact list, and add them as ordinary members of the custody wallet.
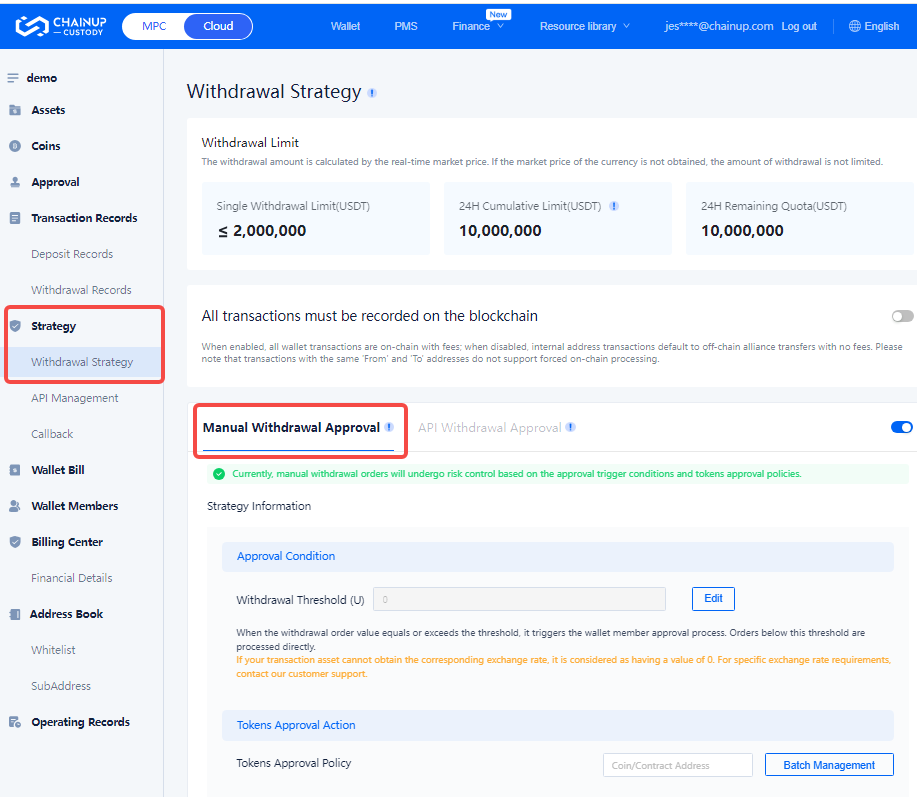
Inviting ordinary custody members to note: When ordinary members join the transaction approval flow, the member is automatically upgraded to an approver. Adding a transaction approval flow can refer to Security Strategy.
If the user is not in your team (contact list), you can enter the account
Enter the account registered with the Custody Wallet (mobile number/email).
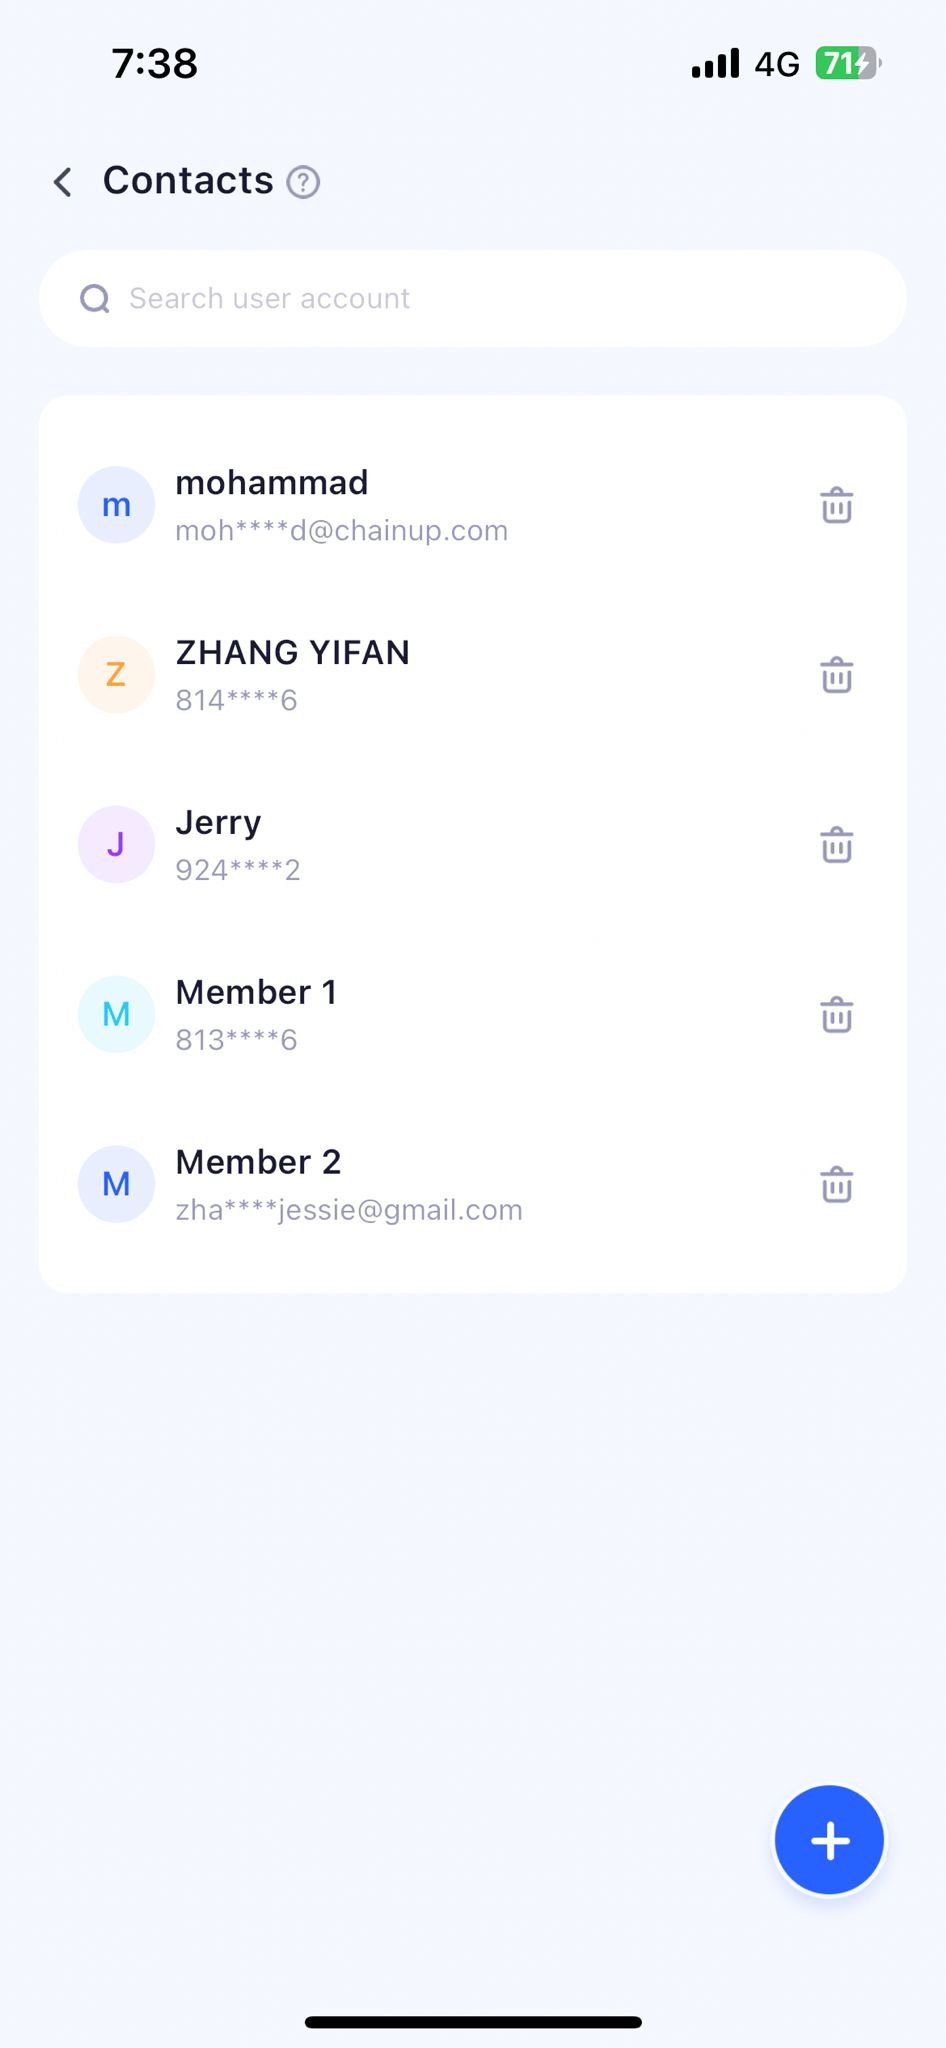
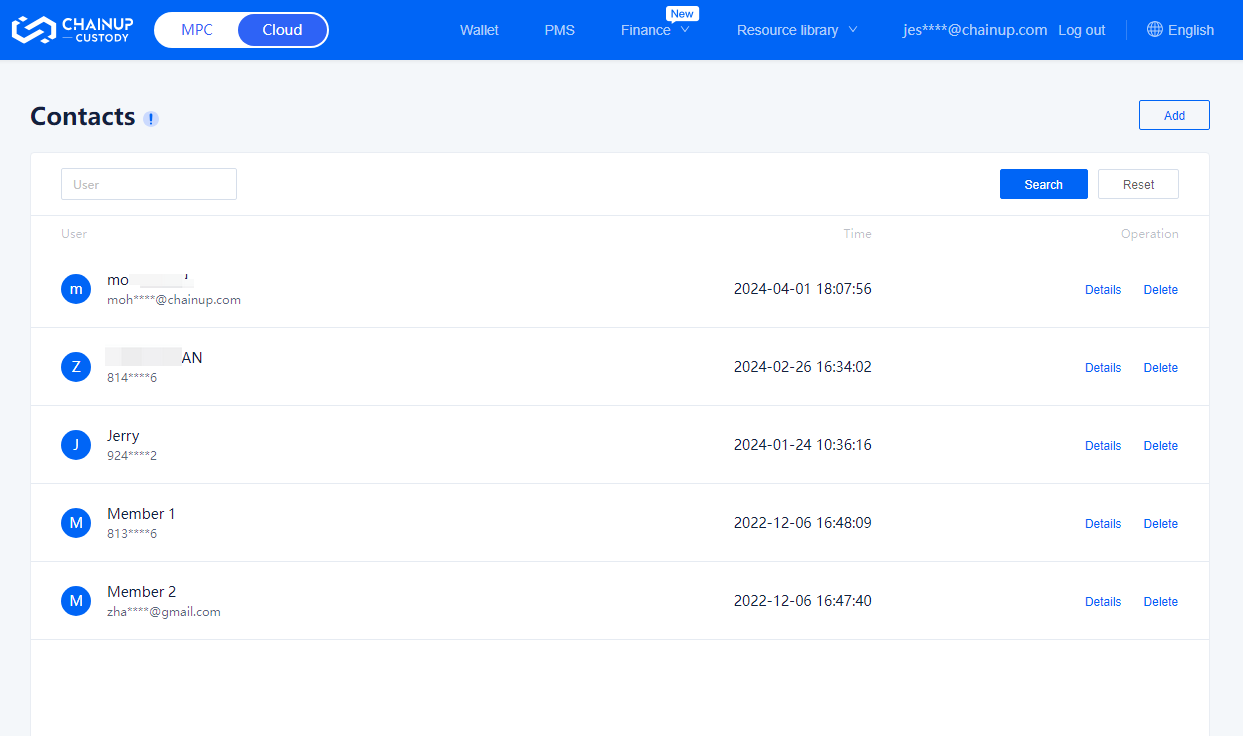
Use the contact list function to manage all team members
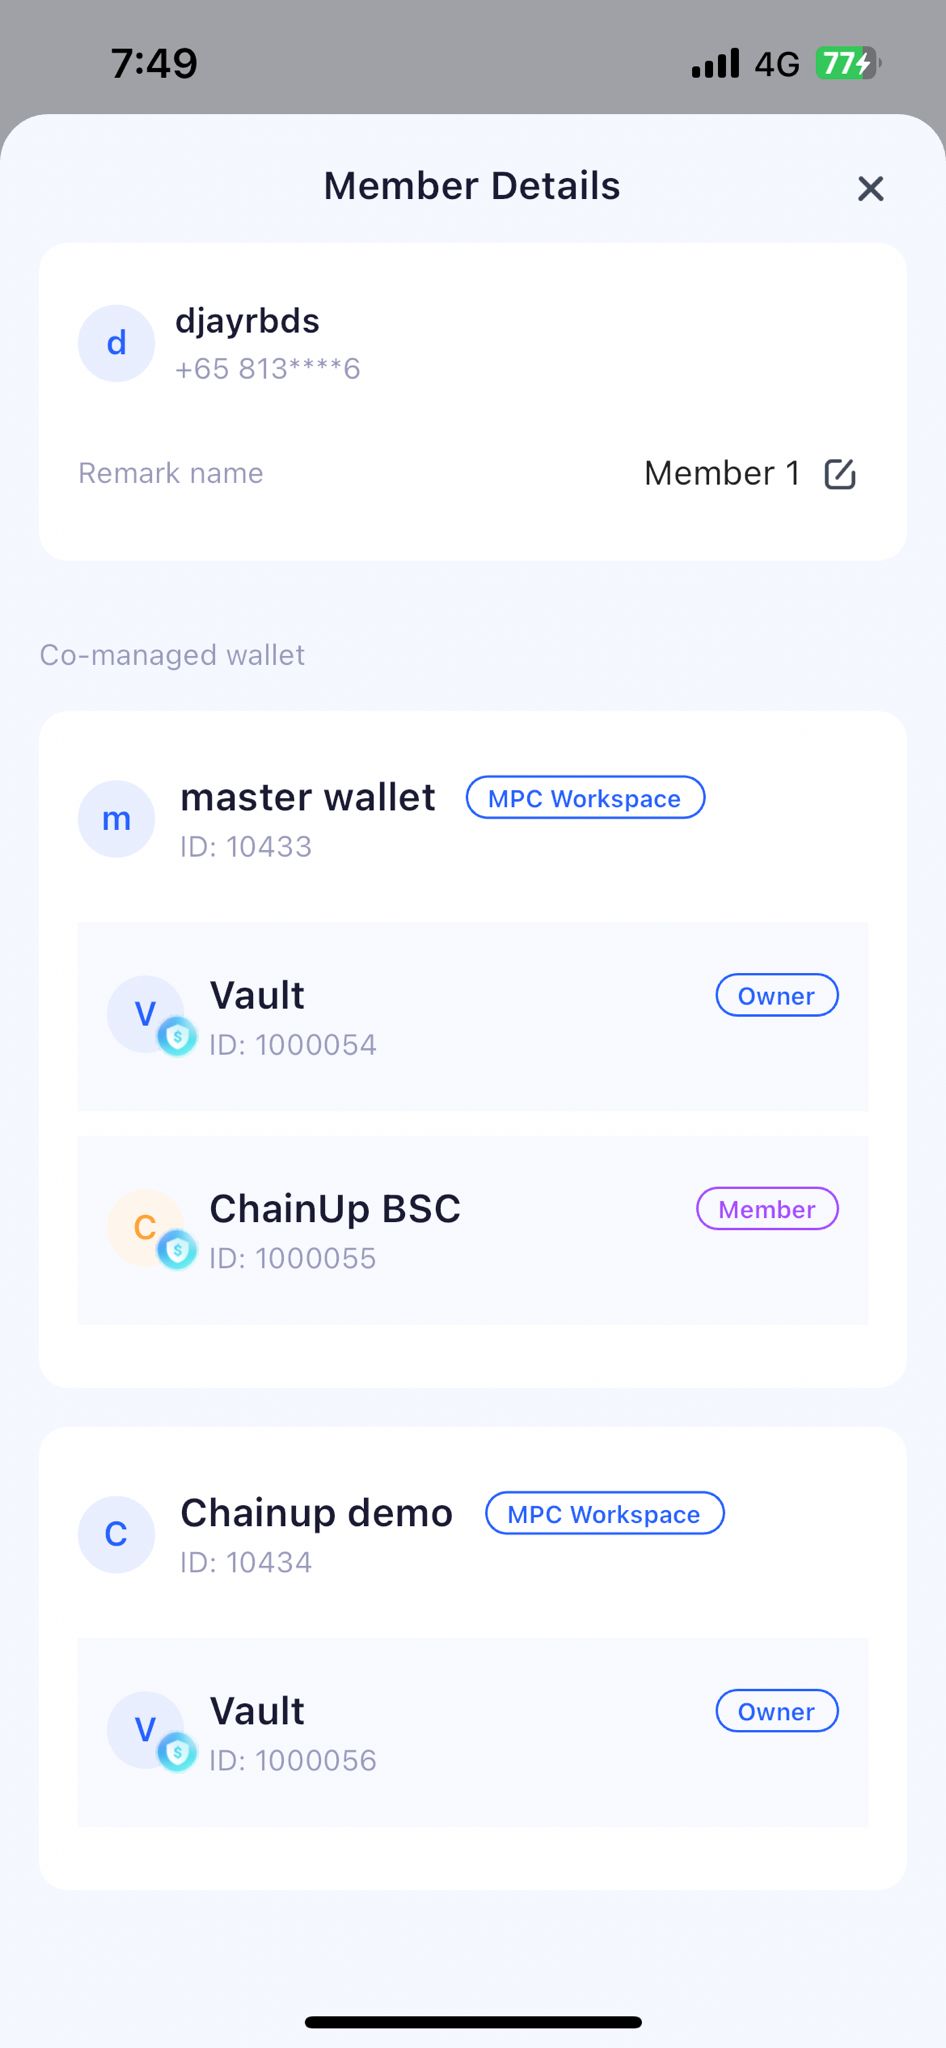
You can add or delete team members, modify the remark name, and view the role details of the member in different wallets.
Path One
Open the ChainUp Custody PC platform in your browser, use the [Custody] APP, scan the QR code to log in using the [Scan Code] function on the homepage or cloud wallet, and click on the list page [Contact List].
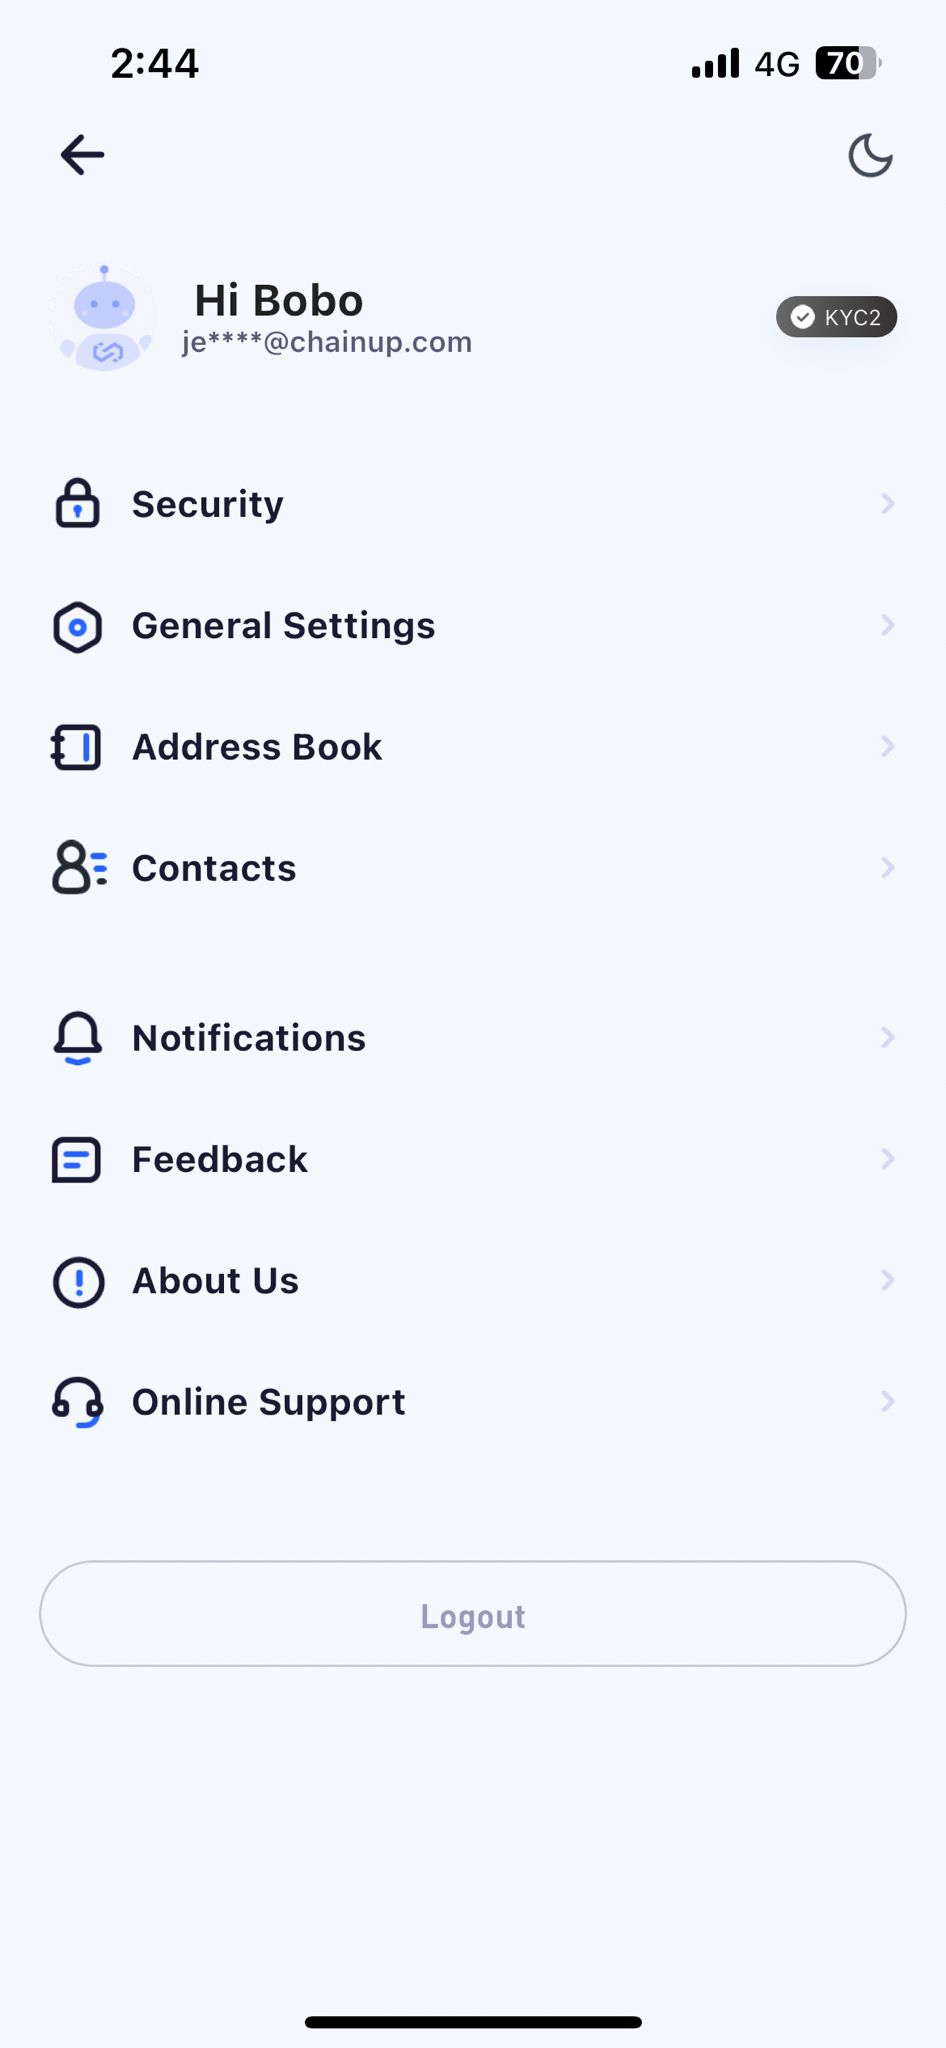
Path Two
Log in to the ChainUp Custody App, click on the avatar, open the personal account settings, and select the [Contact List] function.
III. Frequently Asked Questions
Was this page helpful?